Scotscraig Golf Club
Course Guide
Scotscraig is conveniently located only 15 minutes from the famous Old Course, St Andrews.
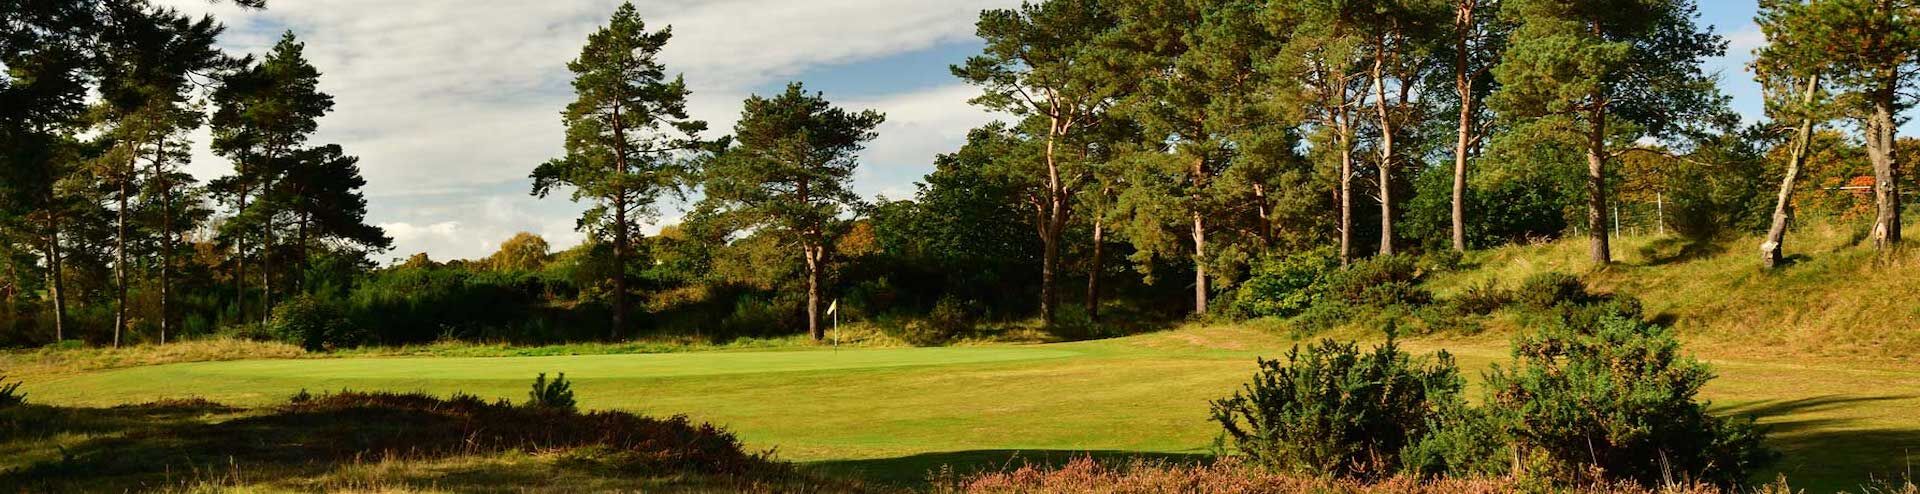
Although the course doesn't sit exactly adjacent to the coastline, there are a few sea breezes to consider when playing this links, heathland mixture.
Since 1984, Scotscraig has repeatedly hosted the Final Open Qualifying when The Open is played over St Andrews. When the Open returned to St Andrews in 2010, Scotscraig once again hosted Final Open Qualifying.
Ian Baker-Finch, Brian Barnes, Justin Rose, Mark Mouland, Duffy Waldorf, Ernie Els, Lee Westwood and Sam Torrance are only a few of the famous players to have graced this renowned classic Fife course. Justin Rose describing it as "Great course, great greens and very friendly"
Please note that we are using winter mats from 1st November 2022 to 31st March 2023
| Tees | Course Rating | Slope Rating | Par | Yards | |
|---|---|---|---|---|---|
| Championship | Blue | 72.5 | 127 | 71 | 6669 |
| Competition | White | 72.0 | 125 | 71 | 6550 |
| Visitor & Members | Yellow | 70.8 | 123 | 71 | 6310 |
| Red | 73.6 | 123 | 72 | 5791 | |
A Junior 9 hole course is available
Scotscraig Risk Assessment
| Hole | Blue | Par | SI | White | Par | SI | Yellow | Par | SI | Red | Par | SI |
|---|---|---|---|---|---|---|---|---|---|---|---|---|
| 1 | 402 | 4 | 9 | 402 | 4 | 9 | 384 | 4 | 9 | 376 | 4 | 9 |
| 2 | 407 | 4 | 15 | 374 | 4 | 15 | 364 | 4 | 15 | 357 | 4 | 11 |
| 3 | 214 | 3 | 13 | 214 | 3 | 13 | 201 | 3 | 13 | 194 | 3 | 7 |
| 4 | 362 | 4 | 1 | 362 | 4 | 1 | 347 | 4 | 1 | 340 | 4 | 1 |
| 5 | 448 | 4 | 5 | 418 | 4 | 5 | 408 | 4 | 5 | 291 | 4 | 13 |
| 6 | 145 | 3 | 17 | 145 | 3 | 17 | 137 | 3 | 17 | 148 | 3 | 17 |
| 7 | 401 | 4 | 3 | 401 | 4 | 3 | 385 | 4 | 3 | 351 | 4 | 3 |
| 8 | 422 | 4 | 7 | 404 | 4 | 7 | 389 | 4 | 4 | 318 | 4 | 5 |
| 9 | 484 | 5 | 11 | 484 | 5 | 11 | 470 | 5 | 11 | 402 | 5 | 15 |
|
|
3285 | 35 | OUT | 3204 | 35 | OUT | 3085 | 35 | OUT | 2777 | 35 | OUT |
| 10 | 404 | 4 | 12 | 404 | 4 | 12 | 386 | 4 | 12 | 359 | 4 | 10 |
| 11 | 453 | 4 | 4 | 453 | 4 | 4 | 442 | 4 | 4 | 434 | 5 | 14 |
| 12 | 393 | 4 | 8 | 393 | 4 | 8 | 379 | 4 | 8 | 375 | 4 | 4 |
| 13 | 165 | 3 | 18 | 165 | 3 | 18 | 150 | 3 | 18 | 106 | 3 | 18 |
| 14 | 516 | 5 | 2 | 516 | 5 | 2 | 505 | 5 | 2 | 470 | 5 | 2 |
| 15 | 175 | 3 | 14 | 175 | 3 | 14 | 163 | 3 | 14 | 136 | 3 | 16 |
| 16 | 476 | 5 | 6 | 476 | 5 | 6 | 464 | 5 | 6 | 462 | 5 | 6 |
| 17 | 401 | 4 | 10 | 377 | 4 | 10 | 363 | 4 | 10 | 333 | 4 | 8 |
| 18 | 430 | 4 | 16 | 396 | 4 | 16 | 376 | 4 | 16 | 331 | 4 | 12 |
|
|
3413 | 36 | IN | 3355 | 36 | IN | 3228 | 36 | IN | 3006 | 37 | IN |
|
|
3285 | 35 | OUT | 3204 | 35 | OUT | 3085 | 35 | OUT | 2777 | 35 | OUT |
|
|
6698 | 71 | TOTAL | 6559 | 71 | TOTAL | 6313 | 71 | TOTAL | 5783 | 72 | TOTAL |


Created by intelligentgolf version 10.1.2.